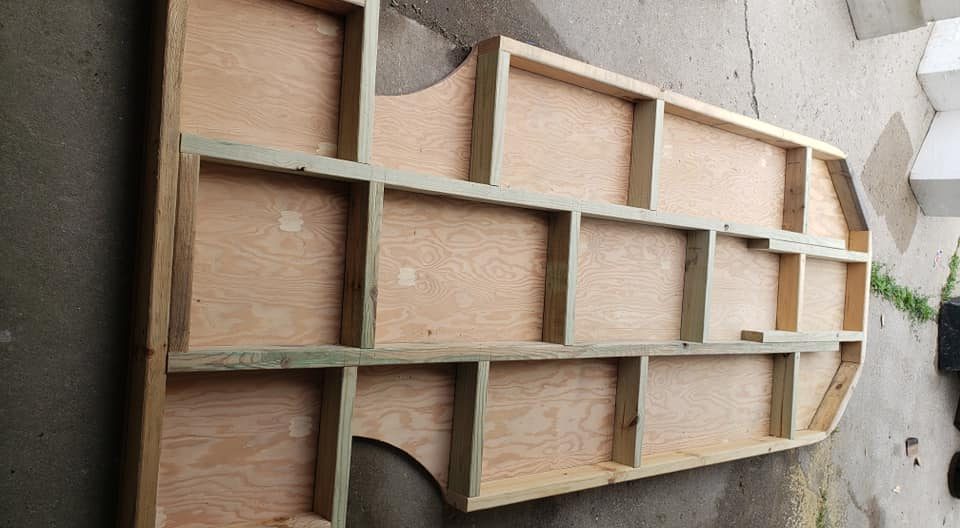
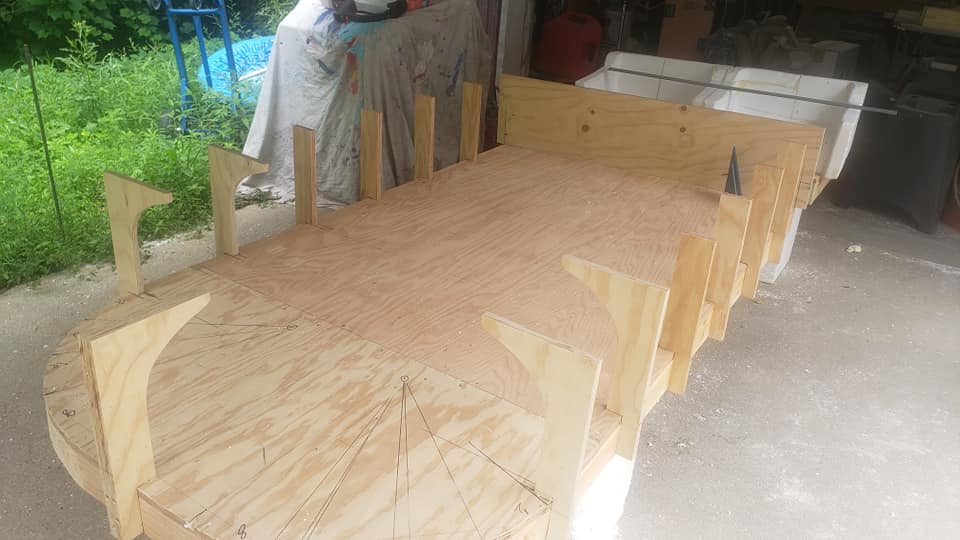
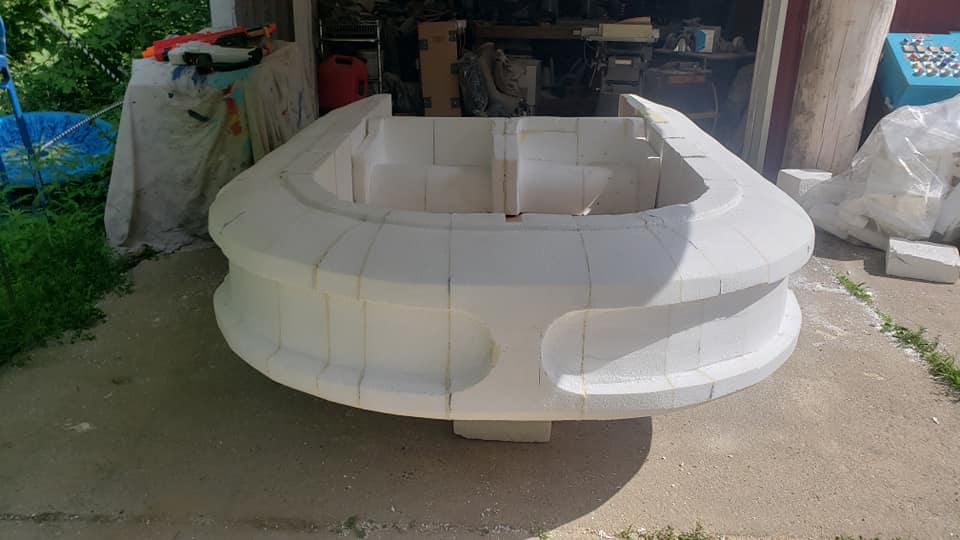
How we created the Landspeeder August 18, 2022October 18, 2022 dbakerdesigns We started with some marine ply and treated 2″×4″ s as the undercarriage. Ribs on the sides helped lock-in the foam blocks and created contact points to attach the hood and side rails. The roughed out front end and drivers seat all sculpted from foam. To keep the foam from melting when the fiberglass resin is applied, several cans of spray glue were applied with layers of “heavy” tin foil. After the first coat of fiberglass. The roughed out engine using mostly scrap sheets of insulation foam.Like the main body of the Landspeeder, we smoothed out the foam, wrapped it in foil then fiberglass. 3:30 am after finishing all the bondo fill and sanding. On to paint!For this project some of the imperfections on the body were welcome. We wanted it to look a bit distressed as if it had been driven through the desert for years. We even came back and gave it a bunch of rust spots, scuffs, scrapes and rusty bits. For the finished Landspeeder check it out here! We appreciate you sharing:Click to share on Pinterest (Opens in new window)Click to share on Facebook (Opens in new window)Click to share on LinkedIn (Opens in new window)Click to share on Telegram (Opens in new window)Click to email a link to a friend (Opens in new window) Share on Facebook Share Share on Pinterest Share Share on LinkedIn Share